What should be the consumption of glue for 1m2
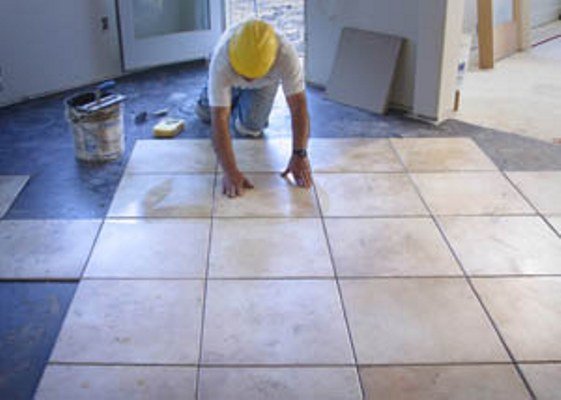
To install the tiles, you will definitely need glue. But how do you know how much of it you need? Maybe one bag for 25 kilograms, or maybe ten for five? Many consumers cannot rationally approach this issue and make decisions at random when they are already running out of time. In such cases, the opinion of the seller or your lining supplier is decisive. But perhaps they themselves do not know the exact numbers. If you want to independently calculate the amount of required adhesive and predict the cost of repairs, our article can help you with this.
To find out the consumption of tile adhesive per 1m2, you need to know the following parameters
Tile adhesive consumption per 1m2
As a rule, the adhesive solution is cement, epoxy and dispersion.
A cement slurry is a bag of cement with various additives, which is subsequently diluted with water or latex additive. This glue has become very popular due to its ease of use and economy. To lay a square meter of tiles with such glue, you will need one or two kilos per m2, laying it with a thickness of one millimeter. Dispersion adhesive is a ready-made mixture based on resin. Epoxy glue, in addition to resin, also has a catalyst. By mixing both components, you get tile adhesive. With this seemingly not the simplest method of preparation, the resulting solution has such positive qualities as not fear of cold and moisture, excellent adhesion to the surface, and many others.
The dimensions of the purchased tiles.
As a rule, more adhesive solution is applied to large tiles. For example, for a tile of 100 × 100 millimeters, a layer of glue of less than two millimeters must be applied. If the tile has a size of 200 × 300 millimeters, the layer must be made larger, from 3.5 to 4.5 millimeters. For a large tile of 600 × 600 millimeters and slightly below, the layer can be five millimeters. If you are laying such tiles, you need to apply glue both to the surface of the base and to the side of the tile with which you apply it to the wall. But this distribution of sizes is approximate, someone applies the layer sparingly, someone does not, it depends on the tiler. Usually, the manufacturer's packaging will indicate the size of the trowel teeth, which is recommended for work. For tiles of 300 × 300 millimeters, use an eight-gauge spatula, and for tiles of 500X500 millimeters, twelfth. But there is always no information about which layer to apply. You will ask why? This is because it is difficult to find out the layer of glue, because you cannot accurately calculate which layer in millimeters you apply, and it is impractical to measure it with a ruler every time. And even when applying an even layer, it is not a fact that it will be even, perhaps so it will seem to you just visually. By laying the masonry in an uneven layer, voids will form between the tile and the glue, due to which the tile will fall off over time. For this reason, experienced craftsmen advise using a tandem of spatulas, apply glue with an even spatula, and align with a notched trowel. For this reason, the kilo / spatula ratio can often be seen on adhesive packaging.
Tile type
Also, the type of tile affects the amount of glue used. The back of the tile surface tends to absorb adhesive. Tiles from different manufacturers are distinguished by their porosity, for example, designer hand tiles and cotto, have increased porosity and more adhesive must be used for them. Less glue is spent on glazed tiles, and even less on porcelain stoneware. As a rule, manufacturers produce special adhesives designed for certain materials. When laying stones, you may find on the instructions of the glue that it must be applied in a special layer to the surface and material. Usually, the same clinker has an uneven rear part, for this reason an additional thin adhesive layer is applied to its rear part, which leads to a slight increase in its consumption.
It happens that the tile has a different thickness, but it must be laid out on a single surface. In this case, the costs of the adhesive solution will also increase.
When starting to lay the tiles, it is necessary to take into account the state of the present state of the surface. It will be just fine if the surface is perfectly flat. As a rule, the surface is of two types: the most flat surface, the differences in which do not exceed three millimeters. For installation, in this version, you can use a thin layer of glue, so that it only adheres to the base and the tile. It is necessary to carry out this method economically, the layer should be less than five millimeters. The glue settles in the drops and irregularities and, as a rule, these are the main “consumers” of the adhesive composition. It is with an uneven wall that the cost of glue increases significantly.
The second option implies an uneven surface. For these types of surfaces, special adhesives have been created, they level the surface and at the same time glue the surface of the wall or floor, and tiles. These adhesives are perfect for substrates where the height difference is over 30 millimeters. This method of laying is called thick-layer, the unevenness of the wall, it happens, reaches three centimeters. The glue composition is spent with this method much more.
Composition and brand of glue.
The glue, depending on its brand, contains various additives. As a rule, they serve to impart adhesion, increase the setting speed, make it less susceptible to high and low temperatures, and increase elasticity. For this reason, the very density of the glue itself changes. By purchasing two ten-kilogram bags, you can get a different volume of material. For the most accurate calculation of the material, to verify the final characteristics indicated on the packaging, you need to know the manufacturer of the adhesive.
Weather.
Temperatures from plus five to plus forty degrees Celsius are considered acceptable for laying tiles. But it is best to carry out styling at a temperature of 18-24 degrees Celsius. High temperatures have a negative effect on the consumption of glue, which, due to the evaporation of water, decreases in volume. If you lay tiles at a low temperature, the glue gradually deteriorates and is consumed more actively. Wind also promotes moisture evaporation and negatively affects tile consumption.
The professionalism of the stacker.
The consumption of glue is directly proportional to the angle of inclination. Holding the trowel at an angle of 80 degrees will use up much more glue than 30 degrees. The difference can be 20 percent. The shape of the trowel is also key. The V-shaped spatula consumes less glue than the same U-shaped one, and the spatula with square teeth consumes the least glue. If you are laying the tiles for the first time, then you can use either more or less glue, because the first time you lay the tiles yourself, the technology is violated. It also often happens that the glue has time to harden, or is simply misused. For this reason, we advise you to buy an adhesive solution with a margin, preferably with a decent one, then you will probably have enough of it.
We calculate the correct amount of glue.
There are several ways to do this. The simplest is when you know and you have already decided what kind of glue you will use. To correctly calculate the glue consumption, you just need to visit the manufacturer's website and find a calculator on it. It is necessary to enter the dimensions of the tiles, the area of the room, and the brand of glue into it, then click the button "make a calculation", or a similar one, and you will see the weight of the necessary glue solution, usually in kilograms. Of course, this figure can be adjusted in your own way. Perhaps you will cover the inside of the tile and the surface or level the base, in which case you will need much more mortar.
You can calculate the amount of glue yourself. Suppose we have an area of 10 square meters. The glue has a consumption of 1.3 kg per millimeter of the glue layer. Then:
A 30 × 30 tile is laid in a layer of 4 millimeters.
1.3x4x10 = 52 kilograms for the whole area.
A 10 × 10 tile is laid in a layer of 2 millimeters.
1.3x2x10 = 26 kilograms for the whole area.
Self-calculated calculations are not the most accurate, but they give an approximate guideline on how much glue is needed. I would like to repeat that to count, you need to know the brand, since the consumption of glue of different brands varies significantly. The final figure of the calculations will help you plan an approximate expense.
If you work as a sales assistant, then the last method should help you, so to speak, advise the buyer on the question “How much glue is needed for my room?”. In this case, he needs an approximate expense, bypassing the nuances. In this case, measure how thick the tiles are and divide by two. After that, multiply by the consumption indicated on the packaging and the area of the buyer's premises. Surely, this will not be the most accurate calculation, but in this case, the consumer will at least know that you are guided by the question. And you can learn how to glue the tiles correctly.
Successful repairs, all the best.
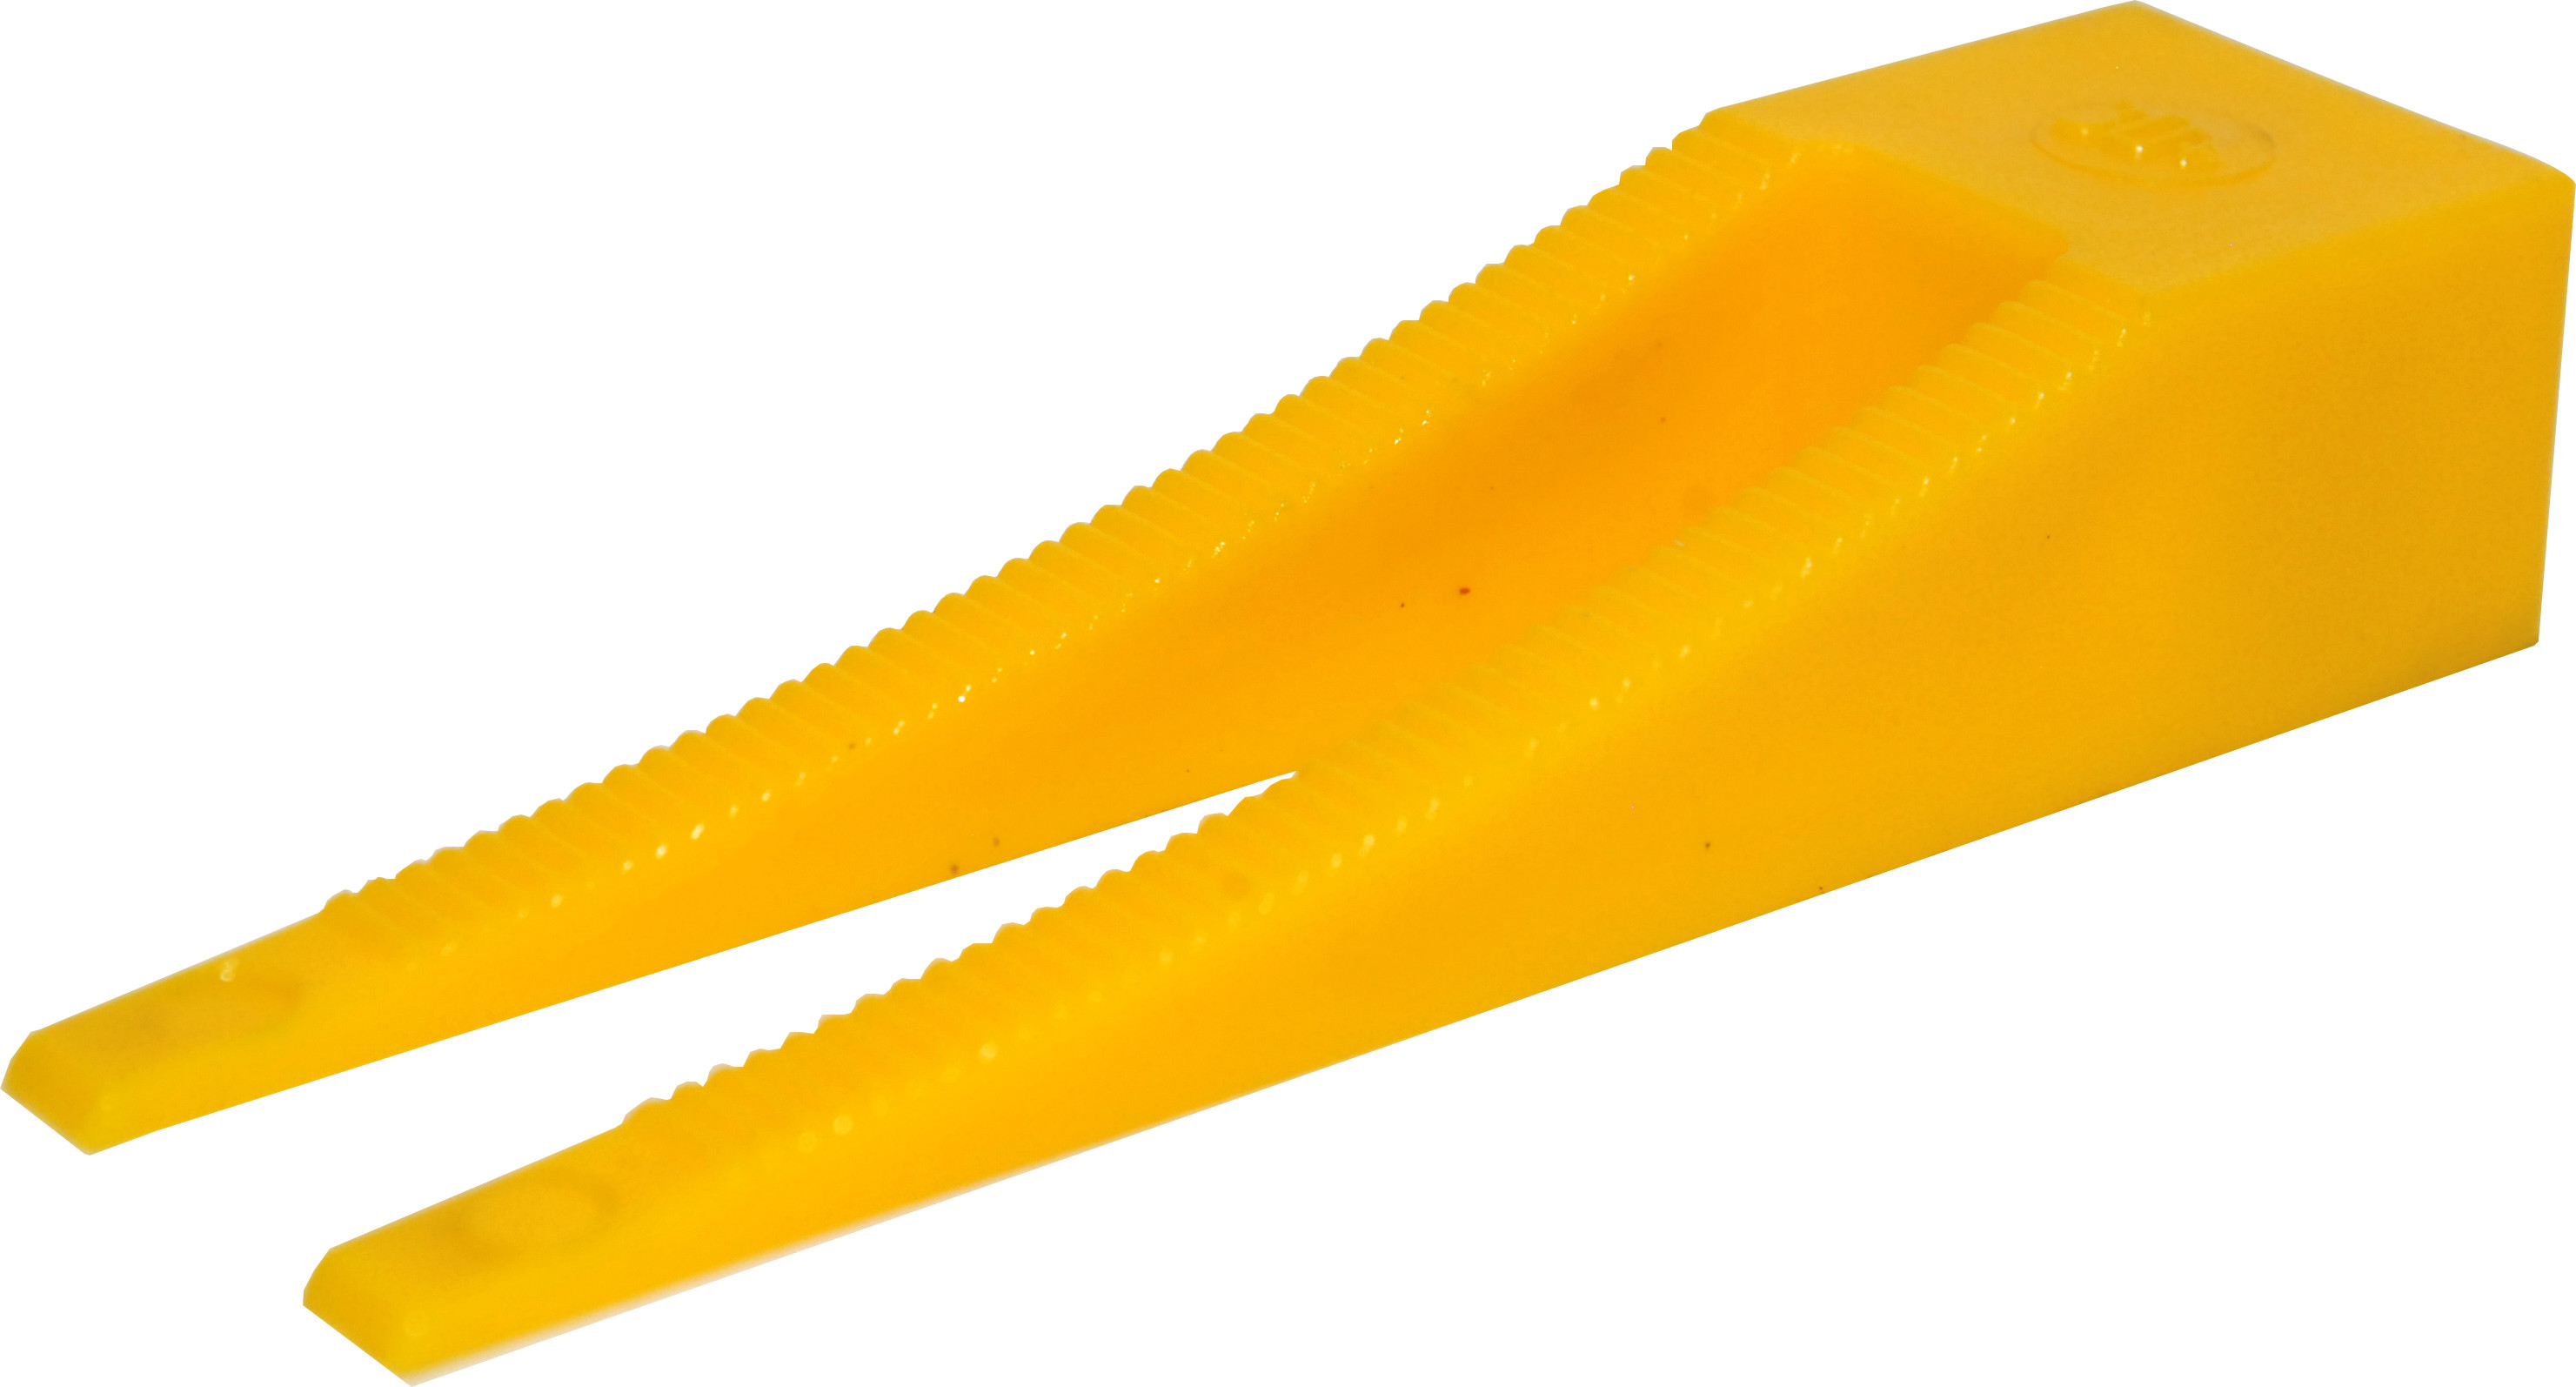
Tile alignment systems will help you quickly and efficiently lay tiles
At the moment, innovations in the field of labor optimization are developing at a rapid pace, this also affected the facing work. The use of crosses, in order to create flawlessly even seams, greatly facilitated the work of masons and made the laying process more efficient. But along with how this tool was invented, another rather sore question among the installers remained open: that it is necessary to create a technology that will ensure the impeccable quality of the laying surface. And this issue was resolved quite practically, since not only was a tool invented to solve this problem, but even replacing the function of crosses. It is called - tile leveling systems and is sold by our online store in a wide range. Today, we can buy tile leveling systems the three most popular varieties on the domestic markets are DLS, SVP and Litolevel. All of them are created using innovative technologies, on the most technologically advanced equipment and have excellent factory quality. We attach all accompanying documentation to them: quality certificate, quality certificate, certificate of conformity. They are made of durable plastic, with the same high quality - detail to detail! Thanks to,
what leveling systems made in Russia, they have a cost adapted for the post-Soviet consumer, significantly lower than that of foreign counterparts.
The use of systems is beneficial in all respects
The use of these tools is justified, both in the case of laying tiles by beginners and professional bricklayers specializing in these types of work. Why?!
Beginners. The work is being carried out for the first time, and there are no guarantees that the installation process will take place in such a way that the final quality will leave you satisfied as the owner of the home. Leveling systems do all the delicate work for a bricklayer - alignment and seams, so the beginner can only lay down the glue, fix the tiles and insert the systems. Even a person who has no previous experience in such work can cope with such a simple technology. Don't believe me ?! Read reviews about leveling systems on the World Wide Web.
Professional bricklayers. This specialty, in the case of constant orders, brings high profits! You get used to good things quickly, but sometimes, if there are working “polygons” every day, you want to speed up.
Application tile leveling systems allows you to carry out facing work two to four times faster. Accordingly, a bricklayer can earn much more in one working day.
For all its low cost, the use of leveling systems justified in all respects - do not hesitate!
What is the technology of laying tile leveling systems
The process of laying tiles or porcelain stoneware, with the application, is nothing complicated. Typically, each system has two parts, with the exception of Litolevel - three. One piece is wound behind the back of the tile and comes into contact with the glue, is a leg, performing the function of creating an even seam, like the crosses mentioned earlier. In its upper part there is an attachment for the second part, which ties the base and tiles, thereby creating a flat surface. The third part in the Litolevel system - the pressure washer, creates a more reliable tie. On each side of the tile, two are attached leveling systems, upon completion of laying and drying of the glue, after about a day, it is necessary to dismantle the upper parts. To do this, use the tools at hand (for example, a rubber hammer), and you can also do this with your feet. Knock down the tops carefully at the correct angle to avoid damaging the glazed layer of the tile. After you knock off the parts, they should be folded somewhere, as they are reusable and cannot be recycled. Small parts of the legs will remain in the seams, but when sealed with a joint, they will become absolutely invisible. That's basically all - nothing complicated!
If you don’t know how to buy systems, we will tell you ...
If you are interested in our products, fill out an application on our website. After that, our manager will contact you to clarify the details of the order. If you need to calculate the exact amount of products for your needs, use the calculator on our website.
Use systems - make your work much easier and faster! Have a good day!
 Masonry mortars for brick oven
 Why do the windows fog up in the apartment?
 Construction and diagrams of brick ovens
 How to lay paving slabs: tips and tricks
 How to drill bathroom tiles
 Monolithic slab on coarse soil
 Which electric heater is economical