How to put linoleum on the floor
Linoleum in popularity is one of the first places among all floor coverings. This became possible due to its high technical and operational characteristics and ease of installation. Despite its small thickness, it resists mechanical stress well, has good thermal and sound insulation performance, and the service life of properly laid linoleum is at least 10 years, although some manufacturers claim a guaranteed service life of about 30 years.
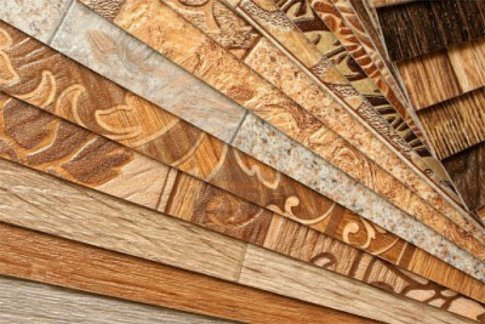
A large selection of brands also speaks in favor of linoleum, and they differ not only in color and pattern, but also in the very structure of the material. Thanks to this, you can choose linoleum that is ideal for both living rooms and administrative premises.
Types of bases on a wooden floor under linoleum
It is allowed to lay linoleum on both concrete and wooden base. One of the disadvantages of this material can be called the fact that it puts forward increased requirements for the evenness of the base, so most often linoleum is laid on a concrete screed.
The wooden base requires increased attention at the preparatory stage. It is necessary to carefully examine all boards, damaged ones will have to be replaced. If some lags are damaged, then you will have to replace them.
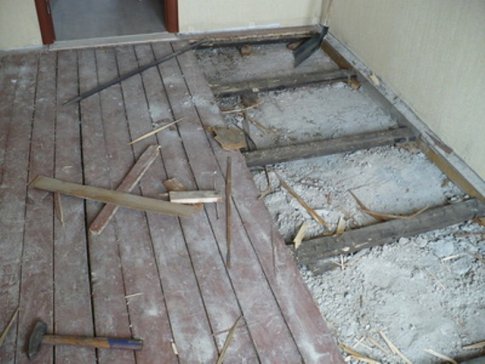
A more economical option may be to install a cement-sand screed instead of re-laying a wooden floor.
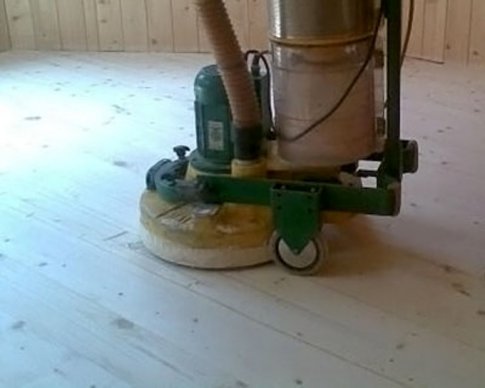
The maximum allowable difference in height should not exceed 2 mm / 1 m of the length of the room; it can be difficult to ensure such evenness on a wooden floor. The fact is that even a defect that is small at first glance will certainly be reflected on the surface of linoleum. Therefore, the nail heads should not protrude above the floor surface, in addition, the joints of the boards must be carefully examined, if there are gaps between them, they must be filled with adhesive. The floor can be leveled with an electric planer.
Another danger of a wooden base is that it is especially susceptible to moisture. When moistened, the wood swells, increases in volume, which means that “humps” appear on the floor surface.
Do-it-yourself linoleum laying tools and materials
In order to properly lay linoleum you will need;
- construction knife;
- roulette;
- ruler (it is advisable to use a metal ruler, not a wooden one);
- mastic or glue for gluing linoleum to the base;
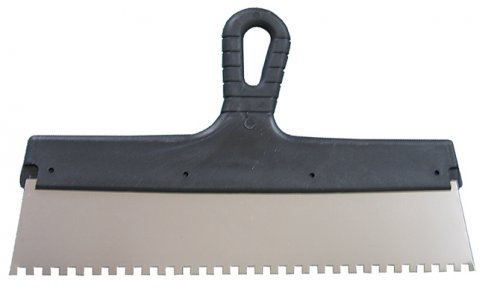
- notched trowel (with its help, the mastic is distributed over the surface of the floor);
- pencil;
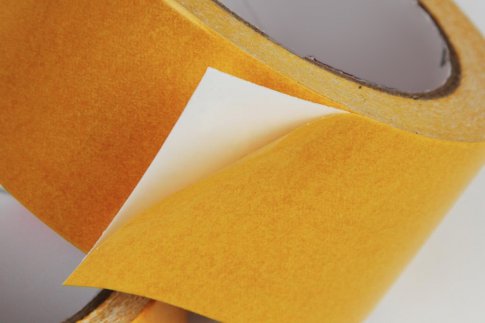
- double sided tape.
Technology - how to lay linoleum
The process of laying linoleum is quite simple. It is much more difficult to ensure the required evenness of the base. In the case of a concrete base, a thin layer of concrete mixture can be used to level it. In this case, linoleum can be laid only after 14 days, after the concrete mixture has completely dried and hardened.
The process of proper laying of linoleum is simple and includes such steps as installing a waterproofing layer, placing the linoleum on the floor, adjusting the pattern (in case the linoleum has to be cut) and gluing.
Before you start laying linoleum, it must be prepared for laying. Linoleum is most often stored in the form of rolls, so before laying it must be unrolled and left in this position for 24 hours.
If the linoleum was at a low temperature, then before unrolling it, it is necessary to keep the roll at room temperature for a day. Otherwise, the roll may crack.
Depending on the type of room and its purpose, there are many nuances of laying.
The simplest is the laying of linoleum in a small room (the area of \u200b\u200bwhich does not exceed 20 m 2). In this case, you can even do without gluing linoleum with mastic or glue. For reliable fastening of linoleum on the floor, in addition to pressing with skirting boards, it will be enough to stick double-sided tape on the linoleum or on the floor. This greatly speeds up installation work, in addition, in the future, when replacing the flooring, linoleum will be easy to dismantle. Usually strips of adhesive tape are glued around the perimeter of the linoleum across the roll.

But if the area of the room exceeds 20 m 2 or if heavy objects often move in the room, then fixing with adhesive tape is not enough - wrinkles may appear on the surface of the coating. In this case, linoleum must be glued to the floor. The disadvantage of gluing to the subfloor is that if the covering is overlaid, it will be very difficult to remove it from the floor.
The answer to the question of how to properly lay linoleum lies in strict adherence to technology. Laying must be done in the following sequence:
- The quality of the resulting coating is highly dependent on the temperature at which linoleum is laid. Experts advise not to install if the room temperature does not reach 18 ° C.
If the linoleum roll was stored at a lower temperature, it must be kept indoors before laying for 24 hours.
- Further actions are highly dependent on which linoleum is used. Imported material is supplied in rolls with a width of up to 4 m, so in many rooms it can be laid without joining individual rolls. This greatly simplifies the work. But there are also narrow rolls (width 1.5 m) on sale, in which case you can not do without joining individual strips.

After the linoleum has straightened out, immediately before laying it, it is necessary to carefully mark the material and cut it in draft. If the room has a shape other than a rectangle, then the largest dimensions of the room are used.
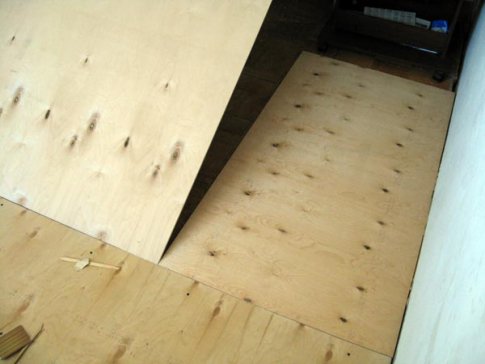
For additional floor insulation, chipboard or OSB sheets can be placed on top of the concrete base.
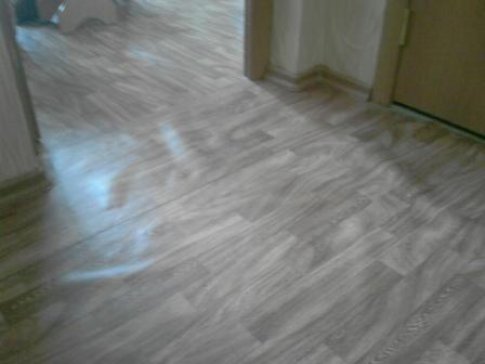
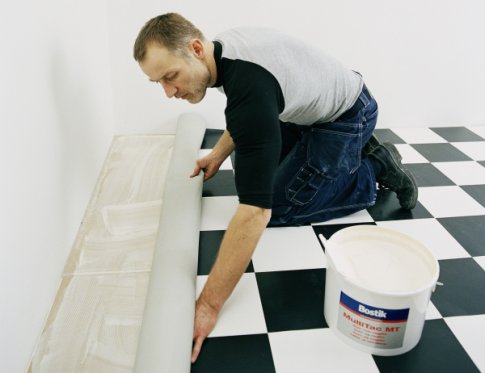
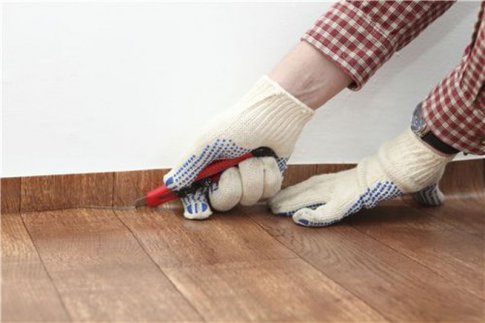
- If a room can be covered with a single sheet of linoleum, then the sheet simply rolls out on the floor. To avoid the formation of air bubbles under it and wrinkles, you can use a regular roller. For additional fastening of linoleum, strips of double-sided tape are usually applied to its lower part. After rolling out the linoleum, it is cut so that the gap between the material and the wall is minimal (2-3 mm).
If linoleum is glued to the floor, then a special adhesive is applied either in a continuous layer on the floor or in separate strokes. Then the material is rolled with a roller to remove the air gap.
![]()
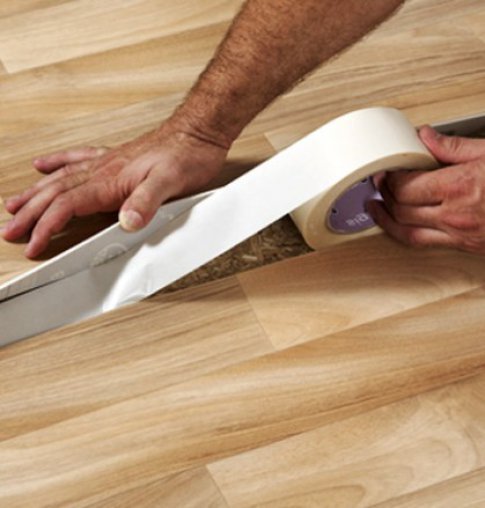
The most time-consuming is the installation of linoleum, in which the individual strips are joined end-to-end. This can be done in two ways. One of them involves connecting the strips at first with an overlap. Then both strips are cut through with a knife. In this case, the knife must be held strictly at an angle of 90 ° and the cut must be performed in 1 pass. This method can be recommended to experienced builders. Then the junction is glued to the floor with glue or double-sided tape.

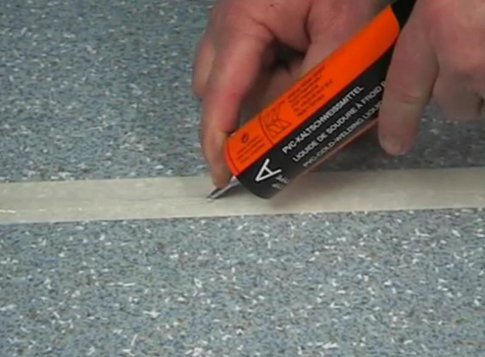
Beginners often use the so-called "cold welding". In this case, the seam is filled with special glue, which dissolves both ends of the linoleum strips, after drying the seam is invisible. With this technology, it is recommended to first fix both strips in the design position with double-sided tape.
Then the seam is glued with ordinary adhesive tape from above. After that, the adhesive tape is cut and the resulting space is filled with glue. This technique allows you to fill the entire seam with glue at once, and not in separate sections.
- The final stage can be considered the installation of skirting boards and door sills. These elements provide additional pressing of linoleum to the floor.

Properly laid linoleum in appearance is in no way inferior to floors made of natural materials and is able to satisfy even the most demanding person.

 Masonry mortars for brick kilns
 Why do the windows fog up in the apartment
 Construction and schemes of brick ovens
 How to lay paving slabs: tips and tricks
 How to drill bathroom tiles
 Monolithic slab on coarse soil
 Which electric heater is economical