Do-it-yourself pond in the country
Alexey Shamborsky, 06/12/2014
Building a pond with your own hands will bring a pleasant variety, perhaps, to any landscape. The presence of such a reservoir will allow you to plant new plants, surround yourself with a special atmosphere of comfort, and also completely transform the summer cottage, making it a key element. It will be especially nice if you build such a mini pond with your own hands.
Before starting the construction of a reservoir, it is necessary to choose its location correctly. The best place will be located at the bottom of the site. At the same time, it should have good lighting throughout the day. It is also undesirable for large trees to be nearby, as falling leaves will pollute the reservoir, and powerful roots can break the waterproofing. An artificial pond with your own hands can have any shape, which depends only on the imagination of its creator. It can be a pond with clear geometric contours or free outlines. The depth of the reservoir in this case should be more than 0.5 m, and in the presence of fish - more than 1.4 m.
Basis of the reservoir
You can build a garden pond with your own hands:
1. From the finished plastic mold.
This method is the easiest, but it is only suitable for reservoirs up to 8 square meters. m. Such tanks are available with any parameters. The plastic form is quite stable in the winter season, is not afraid of direct sunlight, mechanical damage.
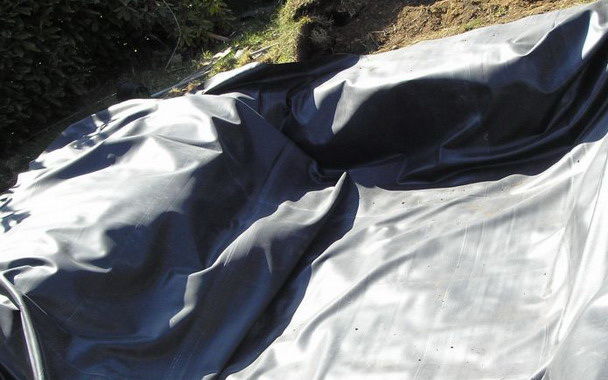
2. From a film.
This solution is more flexible and allows you to make a reservoir of any configuration. It is enough to lay a pit with waterproofing from a film. At the same time, you can independently modify the project during the implementation process.
Necessary materials
- PVC coating;
- rope;
- shovel;
- bricks;
- fine gravel;
- sand;
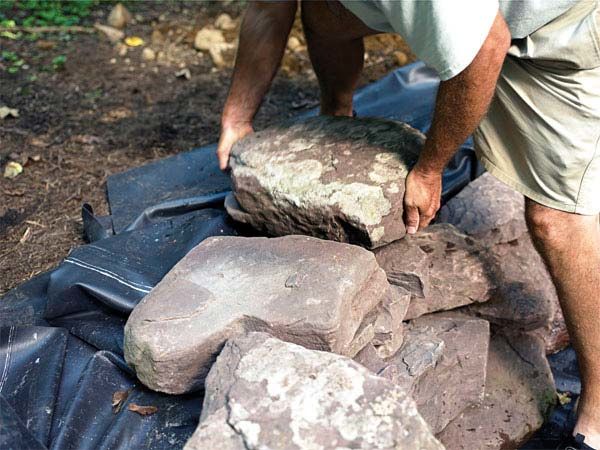
- stone slabs;
- round stones.
Step-by-step instructions for creating a pond with your own hands
So, the plan of the pond is ready, the location has been decided, the material with tools is available. Consider step by step how to make a pond with your own hands.
1. Using a rope, we make markings on the ground, and then we drive in stakes.
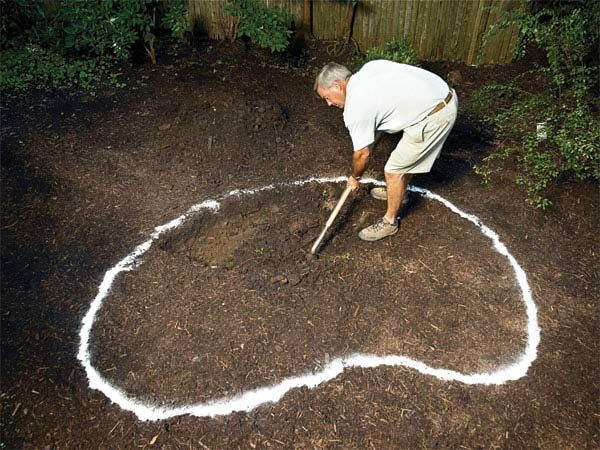
2. Now you can mark the contour of the future reservoir. To do this, along the perimeter of the markup, we cut the turf with a shovel.
3. You can start digging a pit according to the existing scheme. For large sizes, it is better to use an excavator.
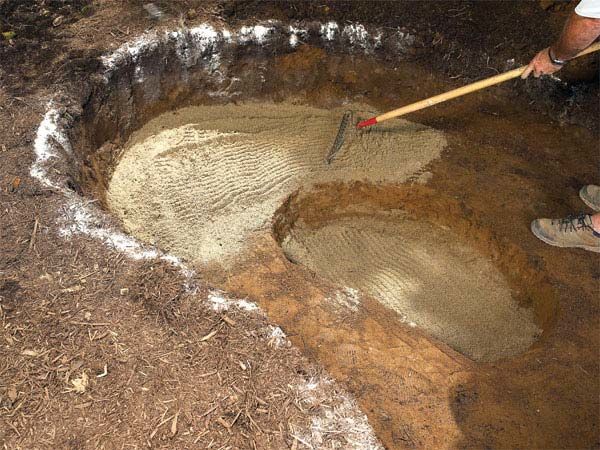
4. When the pit has already been dug, it is necessary to carefully examine the bottom. There should be no sharp stones, debris, branches, or anything that could compromise the integrity of the film.
5. Level it is necessary to check the angle of inclination of the banks. They must be in the same horizon. If necessary, they will need to be aligned.
6. The bottom surface must be covered with a layer of sand about 100-150 mm. At the same time, the slope angles of the steps of the terraces should be slightly gentle. Upon completion of laying, the sand must be carefully compacted.
7. Lay a geotextile over the overlapping sand as protection for the PVC flooring.

9. Do not rush to cut off the excess. It is better to wait for the pond to fill up, since the PVC coating will take the final volume somewhere after a day.
10. Cut the film around the edges. You can start decorating the coast to hide the remnants of the film.
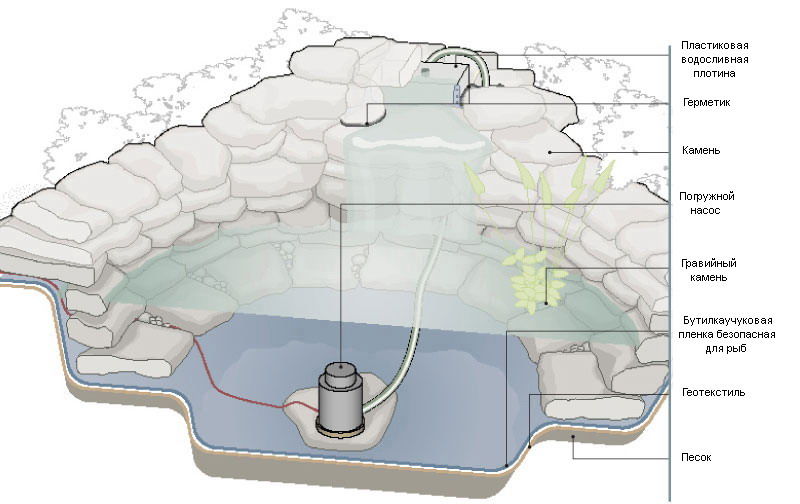
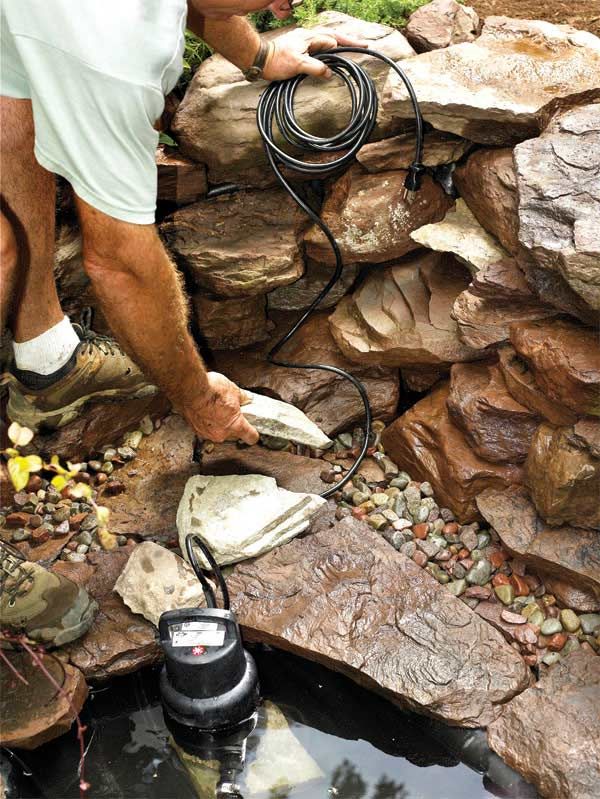
11. Now you can install a pump in the pond, as well as connect a filtration system on the shore, mask the pipe for water inlet and outlet. Purified water is better, for example, to run over the stones with a stream or a small waterfall.
12. Let's move on to planting aquatic plants. For the convenience of planting different types of plants, terraces were originally provided. You can also plant oxygenating plants (bogweed, hornwort, etc.).
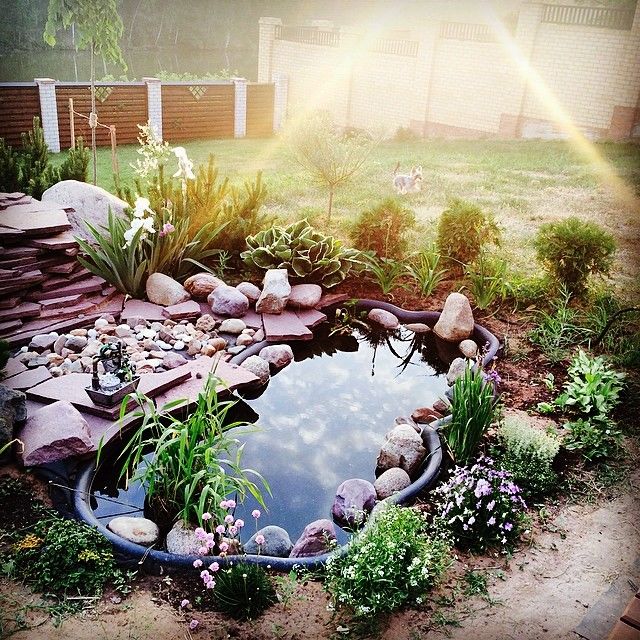
So, the pond in the country house is ready with your own hands, you can populate it with residents.
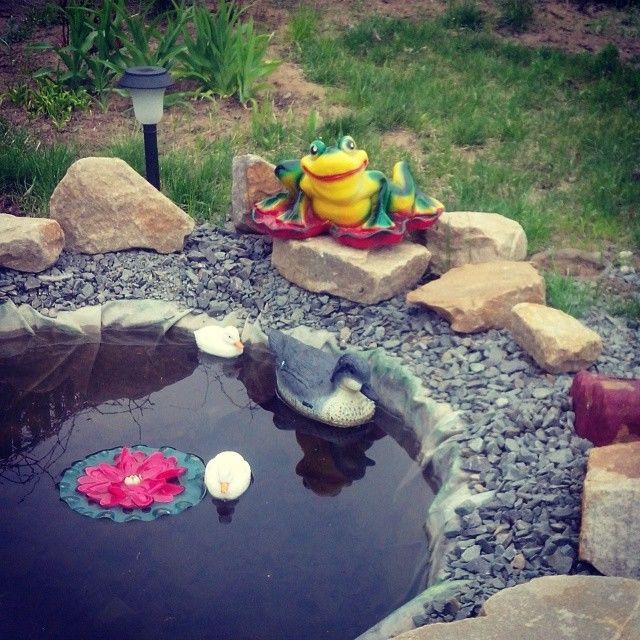
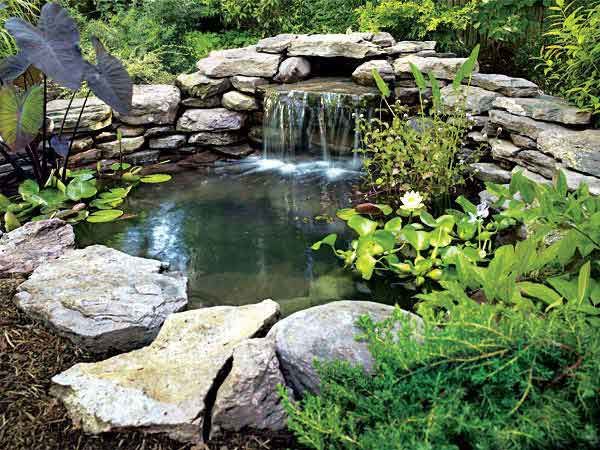
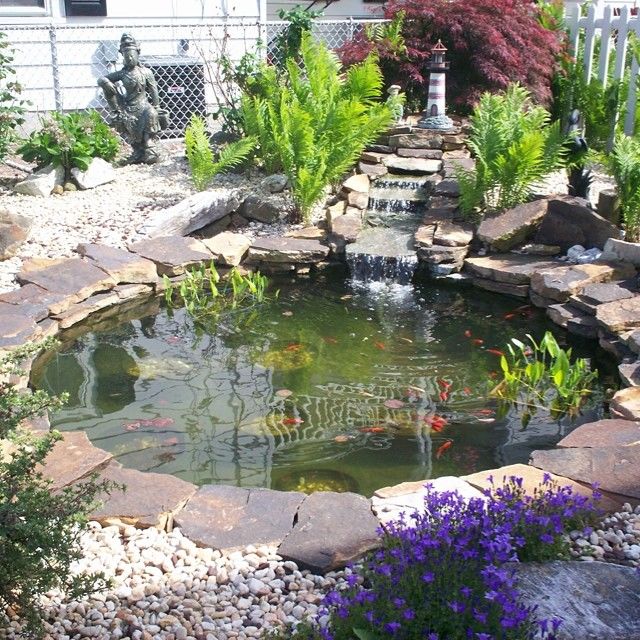
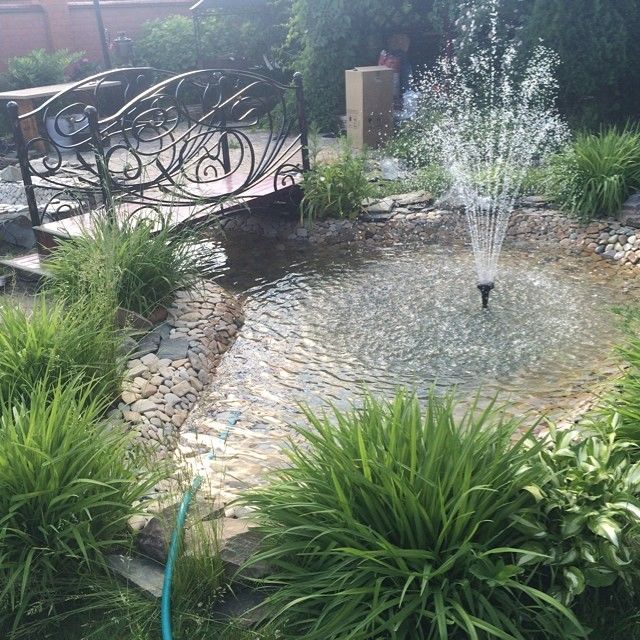
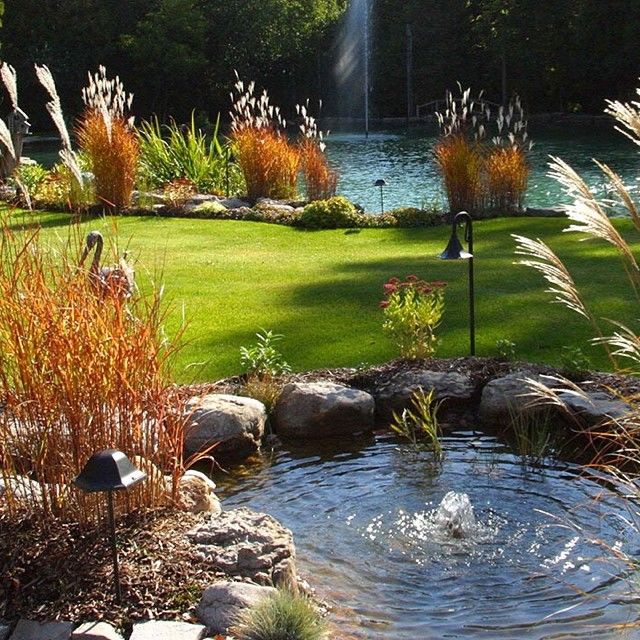
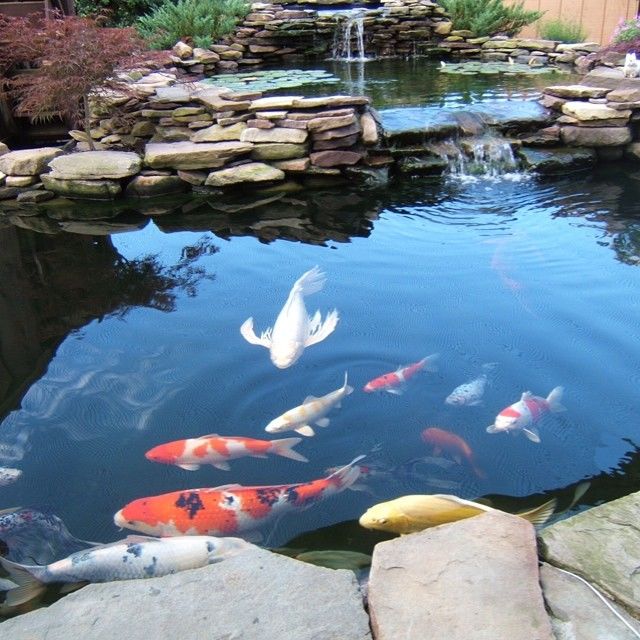
Do-it-yourself pond photo
See photos of the pond taken by yourself
DIY video of creating a pond in the country
We suggest watching a video for clarity on how to make a pond with your own hands:
 Masonry mortars for brick kilns
 Why do the windows fog up in the apartment
 Construction and schemes of brick ovens
 How to lay paving slabs: tips and tricks
 How to drill bathroom tiles
 Monolithic slab on coarse soil
 Which electric heater is economical