Installation and installation of drywall slopes
Every good homeowner tries to make their home prettier, warmer, and more comfortable. It is almost impossible to achieve this with old windows, in which cracks have already formed, where a cold wind is blowing, and they do not add aesthetic beauty. There is only one way out - to change the windows to new ones. But the replacement itself is not the end of the repair work. After installing new windows, you still need to cope with the slopes. As a rule, many owners try to solve this problem on their own. Plasterboard slopes can help accomplish this task.
Material and technology
Any man who has held a hammer in his hands at least once in his life can make the slopes on his own. The finishing method is quite simple, even amateurs of finishing works will cope with it, and it will not take much time. Plasterboard slopes, the devices of which are described in our article, will look neat and stylish at low financial costs.
Previously, slopes were made of simple plaster, applying it in a thick, uniform layer. No matter how hard experienced craftsmen tried, it was almost impossible to make the angle perfectly even, and skill and experience played an important role. In addition, the plaster dried for several days, which created some discomfort for the owners of the house. Nowadays, slopes are made of plastic, but this style is more common in offices and public facilities due to the ease of handling and creating a business look.
The most common in apartments and houses is the device of plasterboard slopes. It is quite simple to install and does not require large material costs.
Plasterboard slopes: device, photo, finishing methods
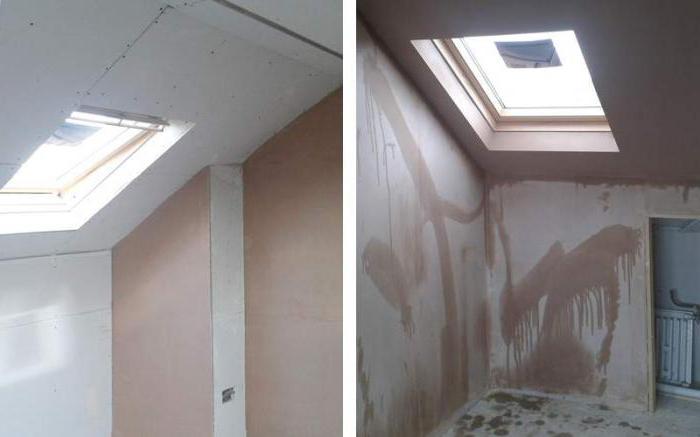
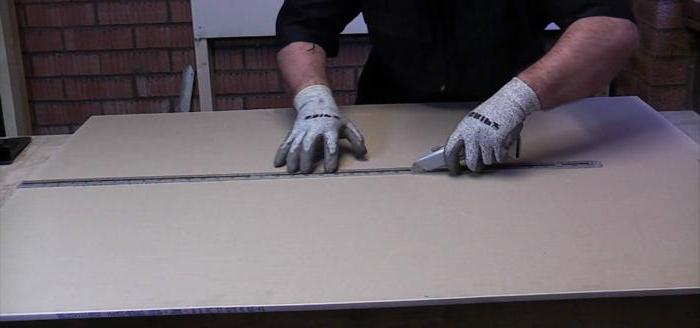
Software masters use a variety of techniques to perform such work, which can be seen in the photo in this article:
With any method of finishing, new windows will delight you with their appearance and quality, if you adhere to all the requirements of technology. The device and finishing of drywall slopes in more detail are considered below.
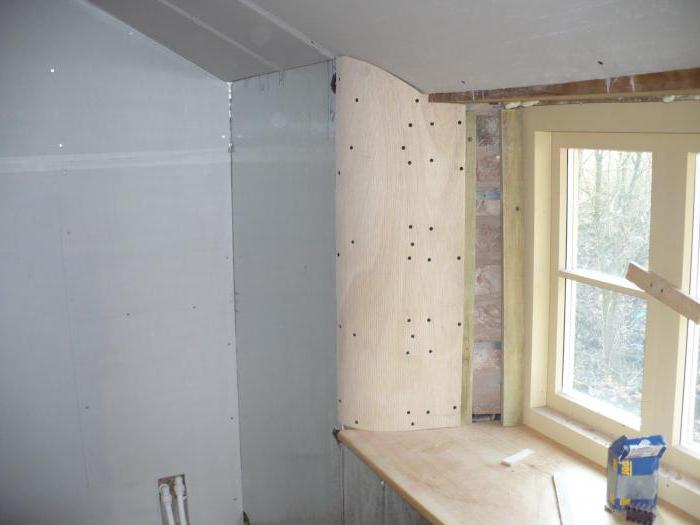
Fastening with a metal profile
This method is great if the walls are also sheathed with plasterboard. In this case, you need to cut out parts from a solid sheet by measuring the slopes. The main frame is created, which is equipped with additional parts for a more durable connection. The fastening itself takes place in the same way as on the walls, and a certain order of actions is strictly adhered to:

Such installation and installation of drywall slopes is fast enough and will not bring a lot of dirt into the house, but you need to take into account that the window opening will be slightly smaller. In addition, you should definitely spend money on insulation between the wall and the sheet.
Slopes glued to polyurethane foam
This method of fastening is used only in extreme cases, for example, when there is simply no place for installing a metal profile, or the structure of the wall does not hold the dowel, and the putty does not stick to the surface. Such problems are known to the owners of old buildings, in which there were wooden window blocks.
In such cases, using foam, the drywall is simply glued to the wall. While the composition is drying, the sheets can be screwed with self-tapping screws with a long head. After the foam polymerizes, the screws can be unscrewed as unnecessary. The installation of plasterboard window slopes in this way is done quickly and with minimal effort.
The disadvantage of this method is that the foam can expand and deform the slopes, as a result, it is almost impossible to make the corners absolutely even. But the foam acts both as a bonding material and as insulation, fulfilling its functions on any surface.
Preparation for planting on glue or putty
This method is very simple in its technology and, as a result, is one of the most widespread. Accurately performing the algorithm of actions, you can get the highest quality work in the shortest possible time:
Plasterboard slopes: device for putty or glue
After the preparatory stage, you can proceed with the installation:
Stage two - finishing
The final stage includes the following steps:
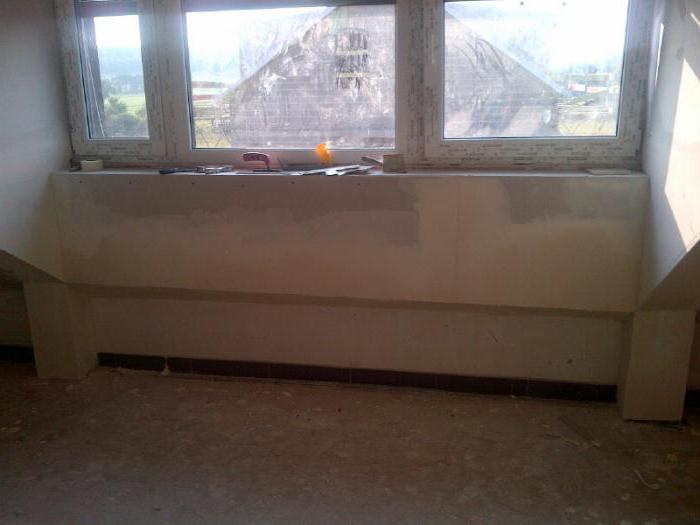
- The device of drywall slopes requires careful processing, so you need to seal all joints with putty and serpyanka three times, leveling the last layer with a trowel brush.
- The void that appears between the window sill and the wall is usually blown out with foam. After it dries, the excess parts are cut off, and the seam is putty. Do not forget that it tends to increase in size, so you need to be as careful as possible with its dosage.
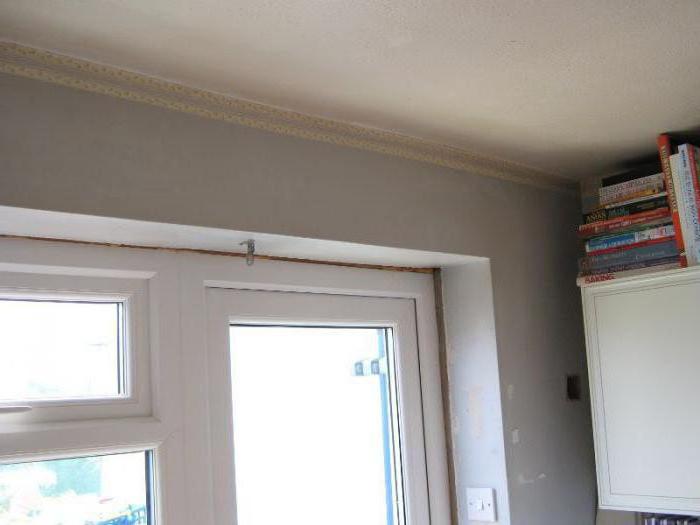
- They paint the slopes with acrylic or oil paint, you can also glue the wallpaper or lay tiles. That's all, the installation of drywall window slopes is almost complete.
- At the final stage, you need to remove the protective film from the window and process the space between the frame and the slope. The tool will give fixation to the putty and will not allow it to peel off for a long time. Excess sealant is removed with a damp cloth.
The newly installed drywall slopes will help to put in order. Do-it-yourself device and decoration will require compliance with some rules:
Conclusion
Plasterboard slopes, the device of which is made correctly, will last more than one year. As you can see from this article, making them with your own hands is quite simple, you just need to purchase the necessary material, get some tools, study the instructions and get to work.
 Masonry mortars for brick oven
 Why do the windows fog up in the apartment?
 Construction and diagrams of brick ovens
 How to lay paving slabs: tips and tricks
 How to drill bathroom tiles
 Monolithic slab on coarse soil
 Which electric heater is economical