Do-it-yourself installation of interior doors: installation instructions
The installation of an interior door requires compliance with certain rules, otherwise installation errors will lead to undesirable consequences in a functional or aesthetic sense. It is important to follow the correct sequence of actions and take into account the nuances that may arise in the process of work.
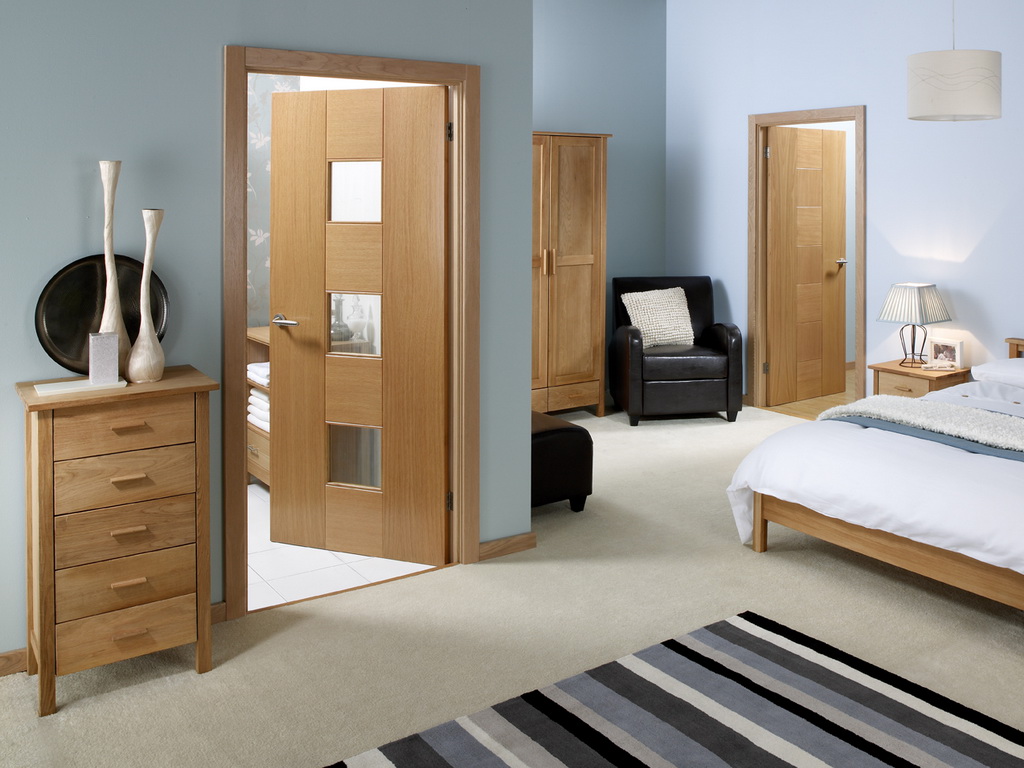
The specificity of filling doorways does not tolerate errors
Types of structures
First of all, interior doors are distinguished by the type of materials used:
- natural wood;
- veneered and film MDF;
- glass;
- plastic;
- other.
Separately, it is necessary to highlight the design options:
- Swing and sliding. Mostly, models of the first type are used, which are attached to hinges and, when opened, are retracted to the side, that is, they swing open. Sliding ones move along roller guides along the opening. Next, we will take a closer look at how to properly install a swing door.
- Panel and panel. The first type includes solid canvases, which can consist of one material or have a frame, internal filler and external upholstery. Paneled ones are assembled from separate fragments: frames and thinner tabs - panels.
- Deaf and with inserts. The first option does not contain transparent elements, an example is the doors in the bathroom. The second type is combined with glass or translucent plastic.
Most often, swing structures are installed in residential premises.
It is important to distinguish between right-handed and left-handed doors. The direction of opening depends on the fittings used and affects the installation of the box. There are no strict requirements here, the main thing is that they do not create inconvenience and have enough space for plowing.
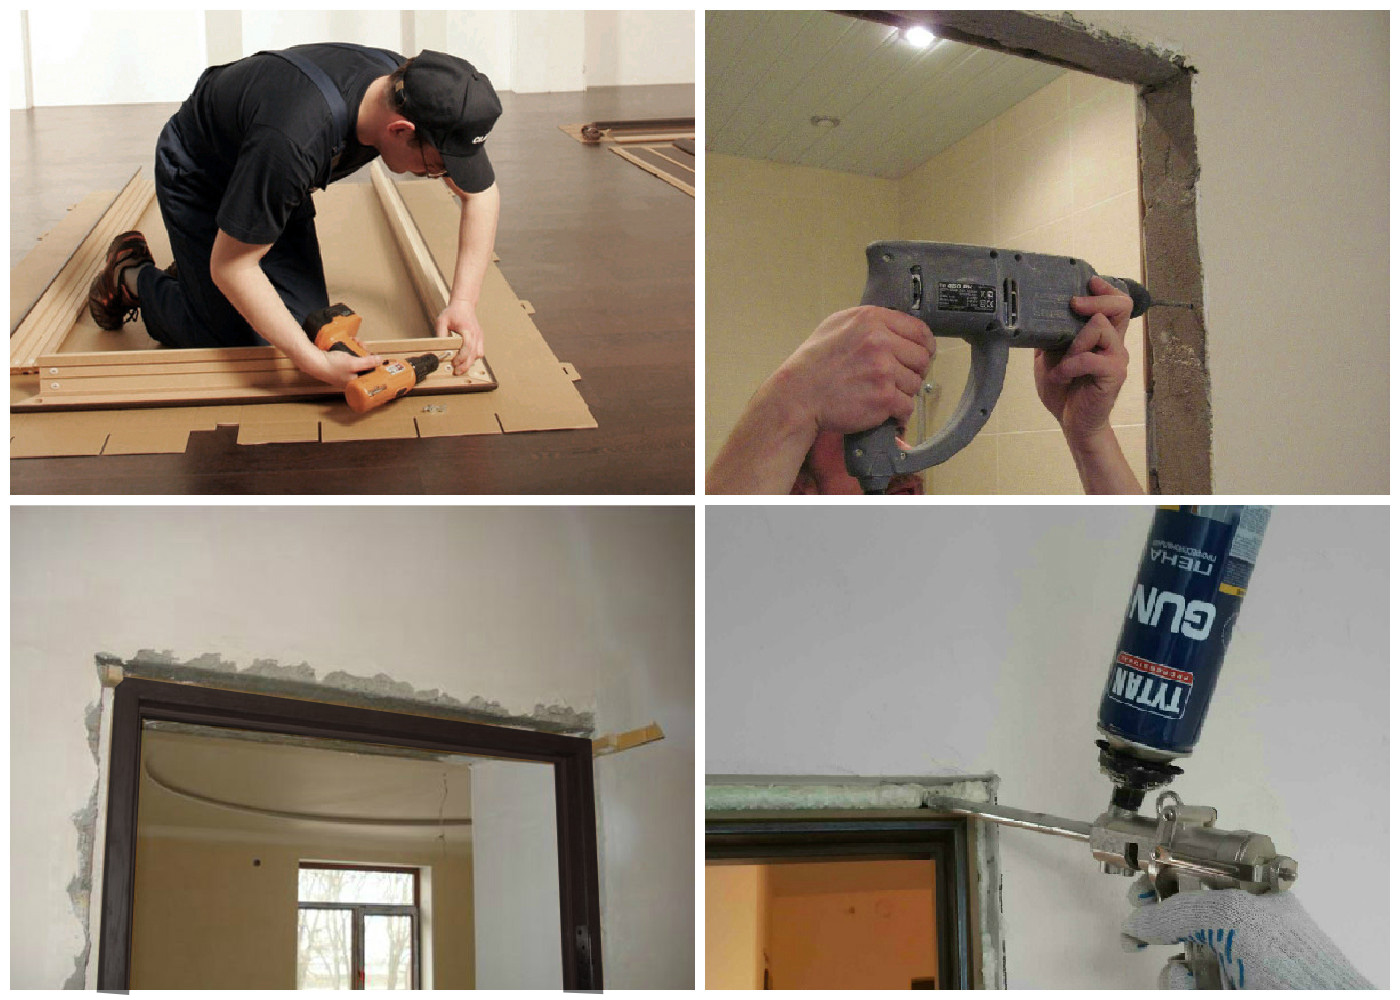
Stages and features of installation
Before starting work, it is necessary to consider the sequence of operations:
- Demolition of the old structure. The opening is completely free. Obvious irregularities and destroyed sections of the wall are pre-levelled. The width of the opening should be taken into account.
- Box installation. This is the main part of the process. Depending on the design, the principle of installation may differ.
- Door hanging. After installing the box in the opening, hinges are attached and the canvas is hung.
- Fitting cutout. The next step is to install the handle and lock.
- Aperture finish. Masking fasteners and minor defects, facing slopes.
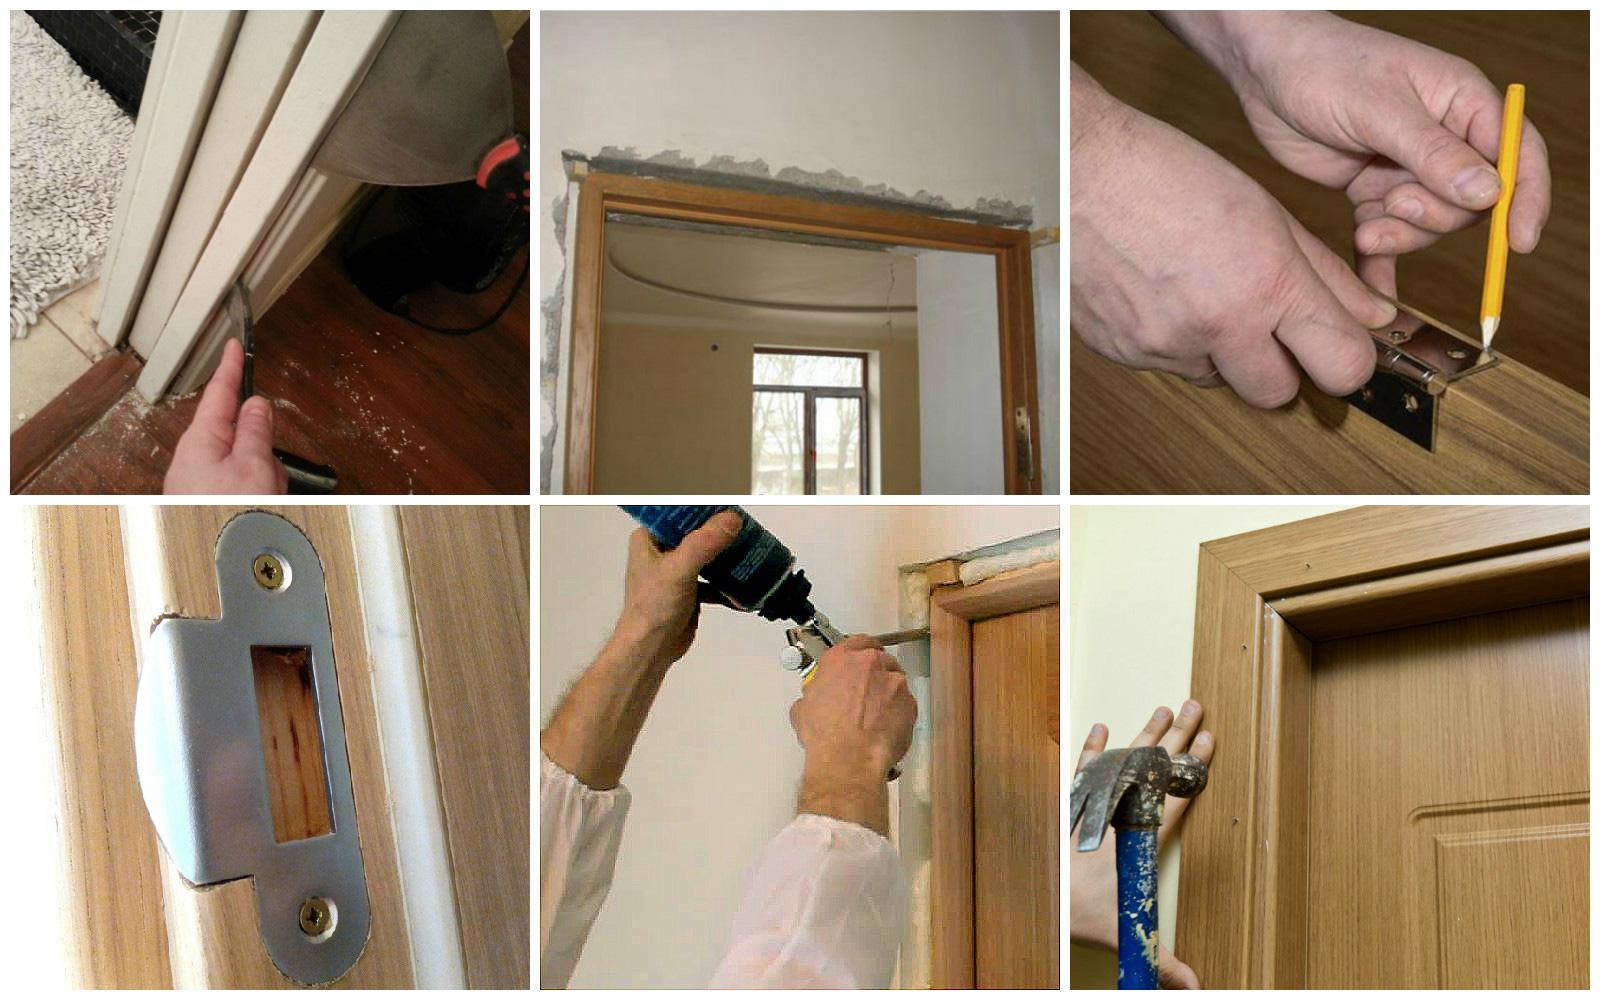
The main stages of installation
Let's analyze each point in more detail. The first refers to the preparatory work, so in this article we will not pay attention to them.
Box installation
So, consider the process of installing a swing interior door. The constituent elements of this design are:
- box;
- canvas;
- loops;
- handle and lock.
Before installing the doors, you need to think in advance which way they will open. It is better to make an exit to the corridor, but if there is not enough space, only the opposite option remains.
Needed first. It's easy to do it yourself. But further manipulations are more difficult to perform alone, so it is better to take an assistant. In case of a discrepancy with the dimensions of the opening, the dimensions of the parts can be corrected, but it is important to make sure that the changes made will not interfere with the movement of the door leaf.
![]()
The elements of the box are fastened with ordinary self-tapping screws.
The sawing of parts is carried out with a hacksaw or an electric jigsaw. You can assemble the box using nails, self-tapping screws, or by sawing out the lock according to the tenon-groove principle. In the latter case, the strips are connected perpendicularly.
If you use the first option, you need to cut the edges at an angle of 45 degrees. It is important to make an even cut, otherwise the box will warp or there will be gaps at the joints. Nails are driven from above and from the side to fix the horizontal bar on both sides.
![]()
Using a miter box will allow you to make an even cut
Door frame installation instructions:
- A pre-assembled U-shaped structure is inserted into the opening.
- With the help of bolts, fastening to the beams is carried out. For this, several holes are drilled in the wall and the box. The gap between them should be 10-20 mm. Be sure to check the level on all planes.
- Then, to fix the position, wooden wedges are driven around the perimeter of the structure, and spacers are installed inside the opening.
- The cracks are filled with mounting foam and left to dry for 2-4 hours. Complete freezing occurs in a day.
Box installation sequence
Canvas hanging
- First of all, small recesses are made on the box and at the end of the door according to the size of the hinge plates. To do this, circle the contours of the parts with a knife and carefully remove the top layer of material with a chisel.
- Mark the screw holes and drill holes.
- Screw on the loops.
- Now the canvas is hung. It is necessary to lift the door and connect the lower and upper parts of the fittings. Here you can not do without the help of a partner. If you do not hold the canvas until it is fully fixed on the hinges, there is a risk of pulling out the fasteners and ruining the door. You need to hang the canvas carefully, slowly. For convenience, you can put a support under the bottom, for example, a stack of books. When you bring the halves of the hinges under each other, lift the product, remove the support, then lower the door so that the top fits over the bottom.
- Lubricate the hinges and check their operation.
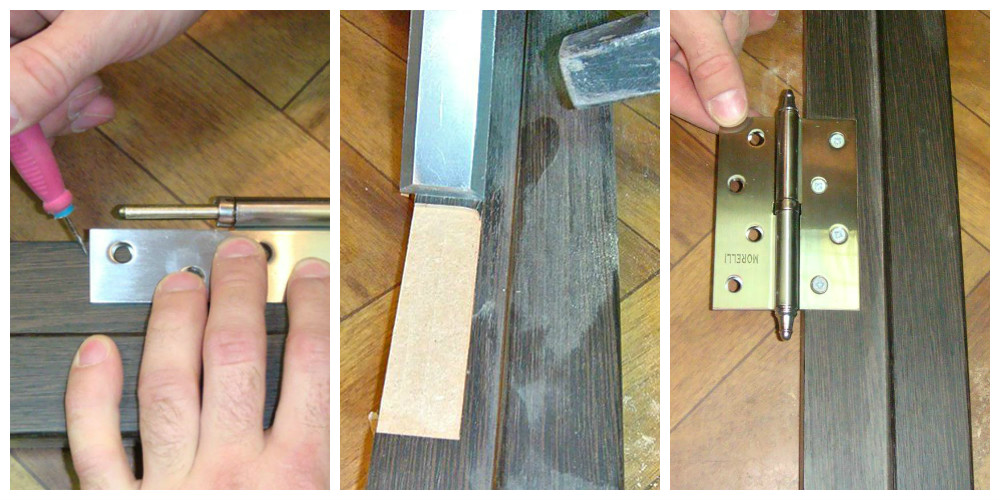
Sequence of insertion of card-type canopies
Lightweight products with a frame made of timber can be installed on screwed hinges, they look more decorative and are almost invisible.
Fittings and finishing of the opening
The final stage is the insertion of handles and fastening of the cashing. To install the lock, you need to drill through the door leaf with a crown, and then, using a nozzle of a smaller diameter, make a recess in the end of the door. Then remove with a chisel about 1 mm of material under the decorative overlay. The lock is installed in the canvas from the end and fixed with a plate. The reciprocal part is attached to the box clearly opposite the fall tongue.
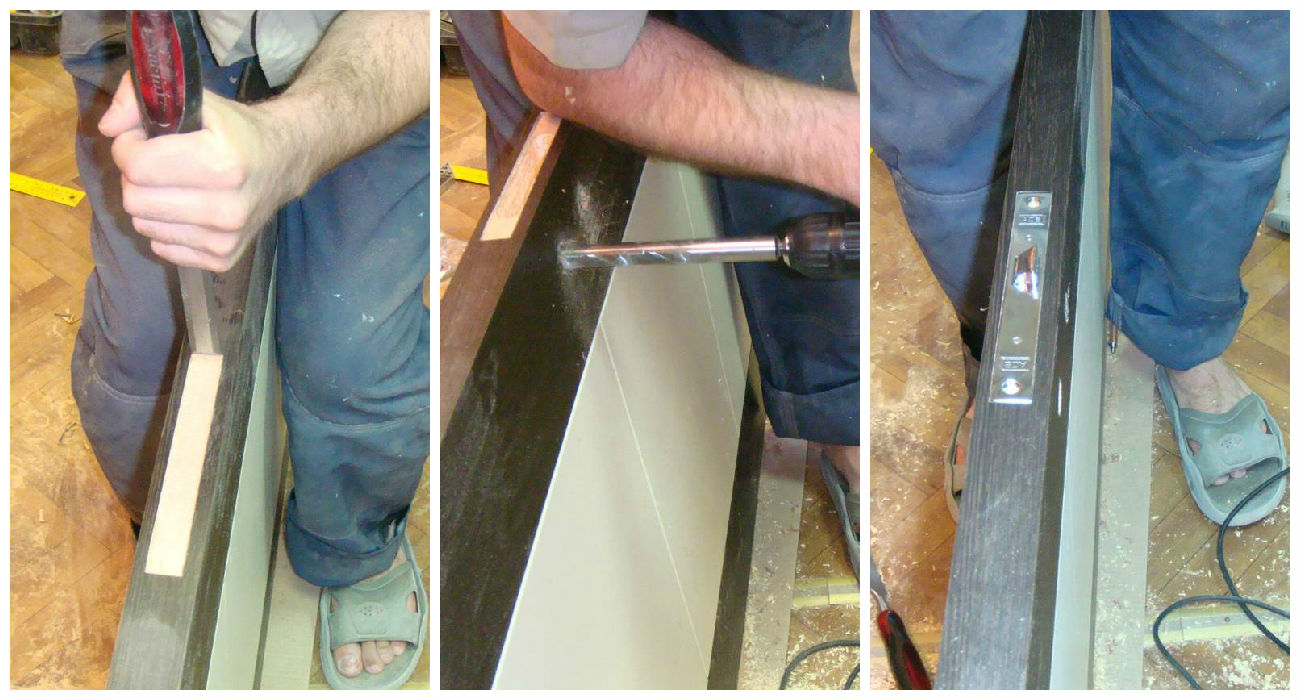
The sequence of inserting the lock into the interior door
After that, it is performed along the perimeter of the opening. Usually they are purchased complete with a door. It is necessary to correct their dimensions and secure with nails. For lightweight models, it is better to use glue.
As for the slopes, they can be closed with additional elements, drywall, plastered or sheathed with plastic. The main condition is to remove excess mounting foam and completely close it from sunlight. Correctly performed installation is the key to the durability of the structure and its uninterrupted functioning.
 Masonry mortars for brick kilns
 Why do the windows fog up in the apartment
 Construction and schemes of brick ovens
 How to lay paving slabs: tips and tricks
 How to drill bathroom tiles
 Monolithic slab on coarse soil
 Which electric heater is economical